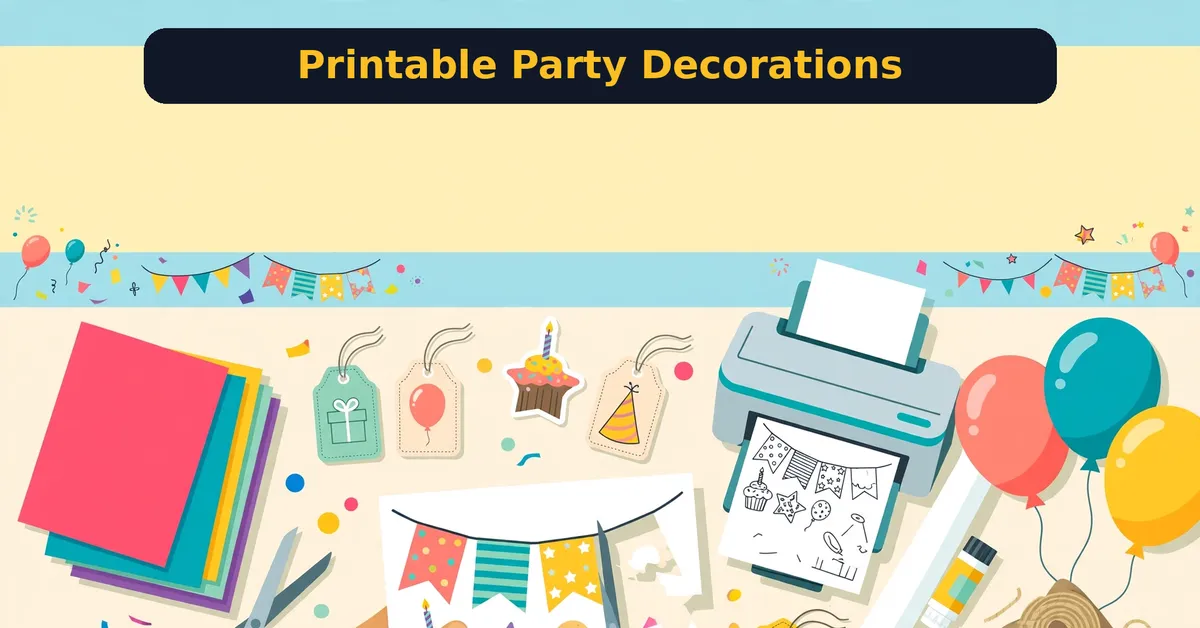
Printable party decorations save parents a fortune. Instead of buying a $30 pack for one theme, you print exactly what you need at home. First, know this: making them is easier than ever, but matching sets take planning.
So here is my complete DIY method for kids’ birthdays: theme planning, artwork, personalization, printing, and assembly. I will also show you where a $14 tool called PartyPalette fits — I reviewed it separately here.
Quick Answer
The short version: To make printable party decorations, pick one theme, generate matching artwork with an AI image tool, personalize each piece with the child’s name and age, print on cardstock, and assemble. A full matching set takes one focused afternoon.
Fastest path: use a purpose-built printable studio for the layouts, and an AI image generator for the artwork.
See the $14 Party Printable Studio
What You Need
Making printable party decorations takes four things: a theme, artwork, a way to personalize pieces, and a printer. You do not need design skills. A home printer and free software are enough to start.
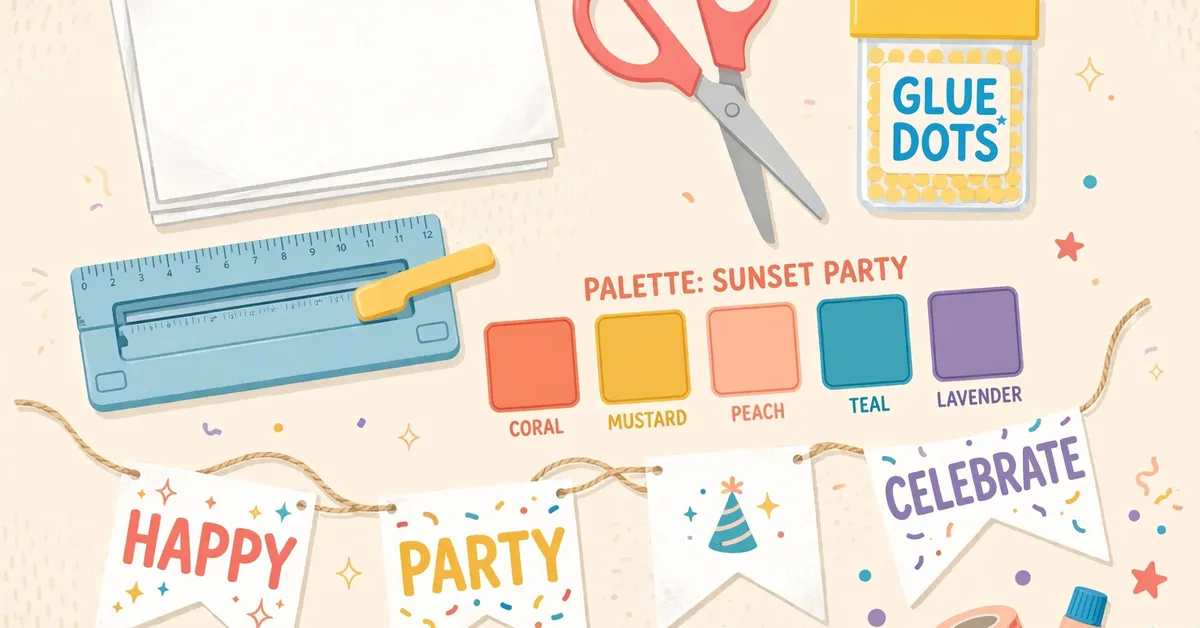
Still, pick one clear theme first. Dinosaurs, princesses, space, and animals all work. One theme across every piece looks professional. Mixed themes look messy.
Step 1: Choose Your Theme and Colours
Next, lock your theme and a 3-colour palette. Write them down. Every piece you make must use these colours — this single rule creates the “matching set” look that guests notice.
Ask the birthday child for input. A theme they chose beats a theme you guessed. For example, a dinosaur lover wants dinosaurs, not generic jungle.
Step 2: Plan Your Piece List
Then list every piece you need: invitation, welcome sign, banner, cupcake toppers, favour tags, food labels, thank-you cards, party hats. Count guests first so you print the right quantities.
Do not skip this list. In contrast, winging it leads to missing pieces the night before the party.
Step 3: Generate Matching Artwork
However, the artwork is where most DIY sets fall apart. Generate all images in one session with the same style words in every prompt — for instance, “flat vector style, pastel colours” repeated each time. This keeps the set visually consistent.
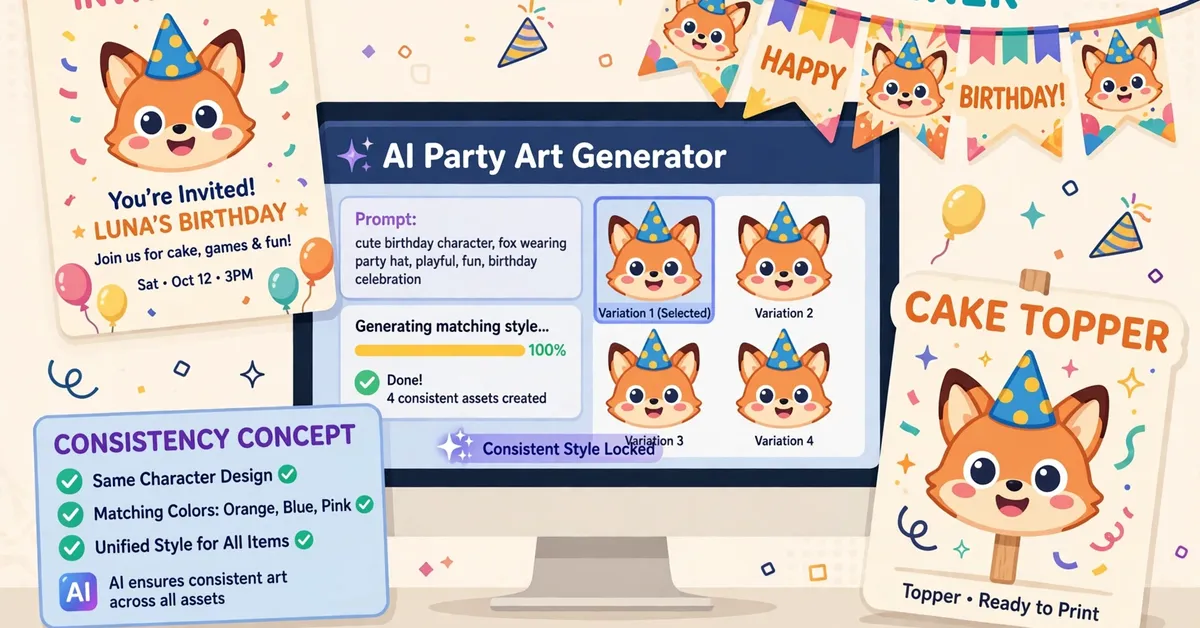
In particular, save every prompt you use. You will need them again for thank-you cards after the party.
Step 4: Personalize Each Piece
Now add the name, age, date, and venue to each layout. Keep names editable apart from the art — then you can reuse the whole set for a sibling’s party later by swapping text only.
Double-check spelling. A misspelled name on 20 favour tags is painful.
Step 5: Print on the Right Paper
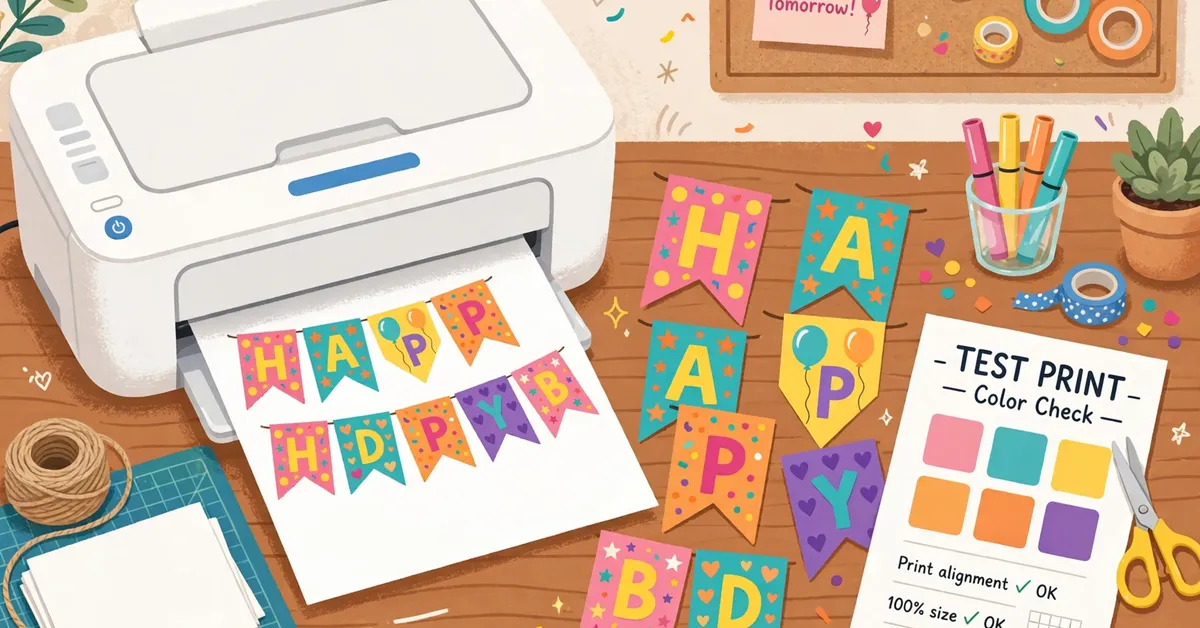
Print on white cardstock, not regular paper. Cardstock stands up for tents and toppers; plain paper flops. Use your printer’s “best” quality setting and let sheets dry fully before cutting.
Print one test page first. Colours on screen always differ slightly from print.
Step 6: Cut and Assemble
Cut with a paper trimmer for straight edges — scissors work but take longer. Score fold lines with a ruler edge before folding. Assemble toppers with glue dots and food labels as tent cards.
Do this the day before, not party morning. Assembly always takes longer than you expect.
Common Mistakes to Avoid
- Mixing art styles across pieces. Use the same style words in every prompt.
- Printing on plain paper. Cardstock only for anything that stands up.
- Skipping the test print. One test page saves a reprint of everything.
- Forgetting the thank-you cards. Make them in the same session as the rest.
- Starting the night before. Give yourself a full afternoon.
Frequently Asked Questions
How much does DIY party decor cost?
Paper and ink for a full set run about $10 to $20. That beats $30-plus Etsy packs, and you can reuse the designs.
Do I need a special printer?
No. In other words, any home inkjet that handles cardstock works. Check your printer’s max paper weight first.
Can I sell printable party sets?
Yes, if your tools allow it. To be clear, PartyPalette includes a commercial licence at its $14 front end, which covers finished designs and client orders.
What if I cannot draw?
You do not need to. AI image generators make the art; you handle layout and text. That is the whole point of the modern DIY method.
Final Word
To summarize, printable party decorations come down to one theme, consistent artwork, and cardstock. Get those three right and your party looks store-bought for a fraction of the price.
If you want the layout side handled by purpose-built software, read my full PartyPalette review — it covers the $14 studio honestly, including the one catch about artwork, plus two free bonuses I made for buyers.
Get the $14 Party Printable Studio
Start Your Party Printables Today
Affiliate Disclosure
Finally, this post contains affiliate links. If you buy through them, I may earn a commission at no extra cost to you. My guides stay honest: real methods, real limits, no hype.